Inflatable kayak assembly instructions
Unpacking
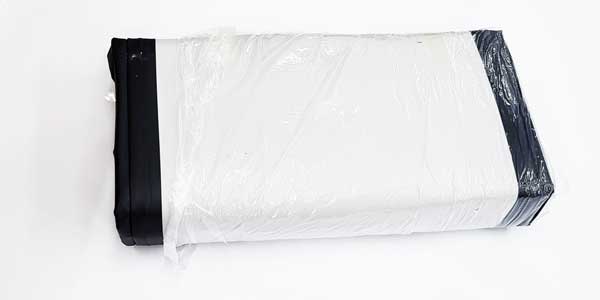
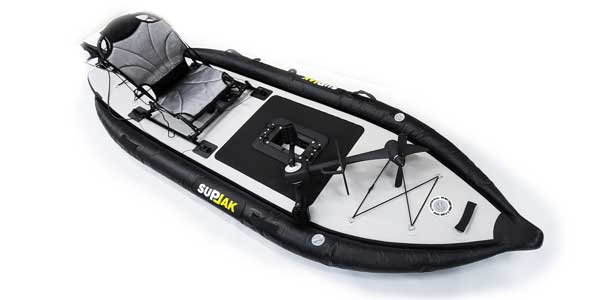
Unpack the SUPJAK and place it on the floor
Unfold
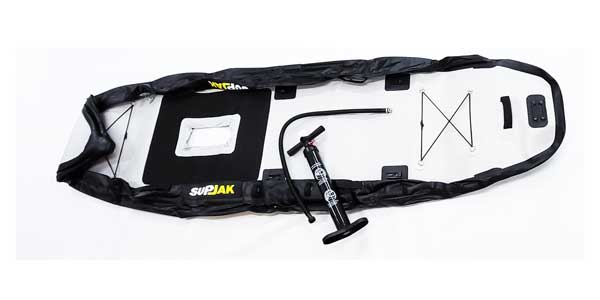
(This procedure only needs to be used for the first time or after a longer storage period over the winter). Unroll the SUPJAK and leave it to relax for 24 hours. Then inflate to 2 PSI and leave for another 24 hours. (see operating instructions)
Inflate
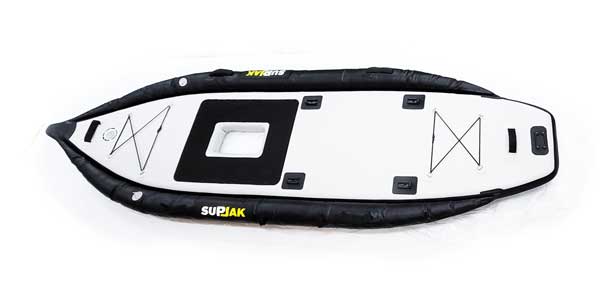
Inflate the center section to 10 PSI and the two outer air chambers to 5 PSI.
The valves
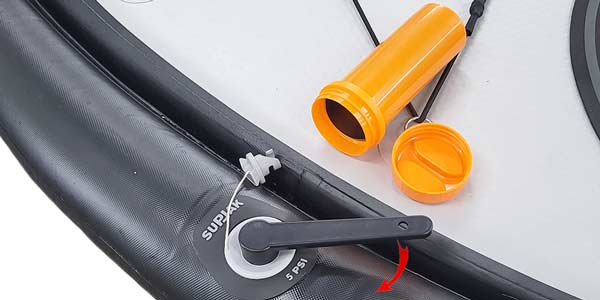
If air escapes from one of the three air chambers, the valve of the air chamber can be tightened using the tool supplied (lever). To do this, insert the lever into the valve and tighten it clockwise.

Drive bracket
Fasten the bracket for the drive using the 4 screws supplied and the tool provided. Only tighten the screws until the bracket is securely clamped in the board. If the screws are tightened too tightly, the bracket may bend. This can result in the drive no longer fitting correctly in the bracket. If, on the other hand, the bracket is too loose, the drive may have play in the bracket. The scope of delivery also includes 4 black plastic tubes. These can be used as spacers on the screws between the two mounting parts.
The drive
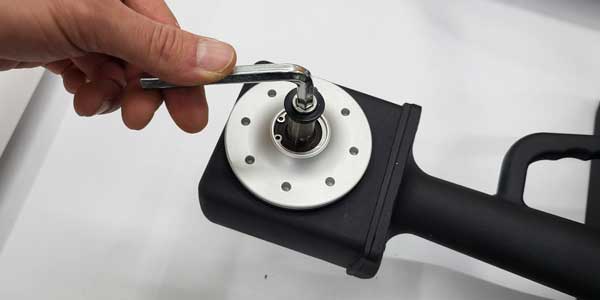
Unpack the drive and remove the fastening screws.
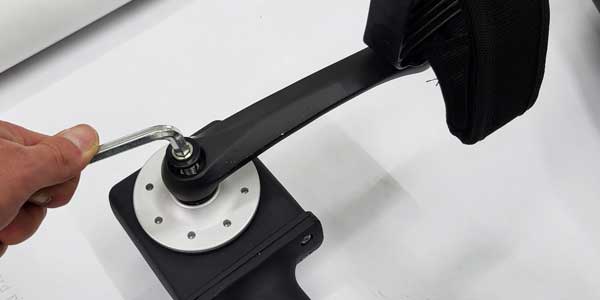
Pedal assembly
Fit the first pedal and screw the screw back into the thread.
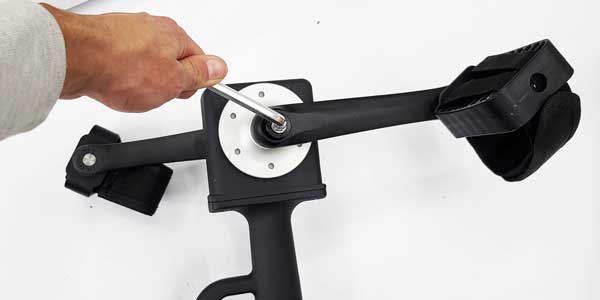
Pedal assembly
Place the second pedal exactly on the opposite side and also screw the screw back into the thread.
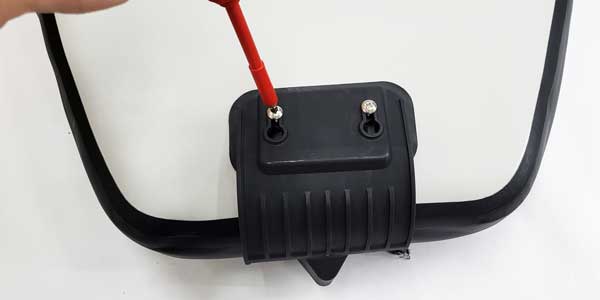
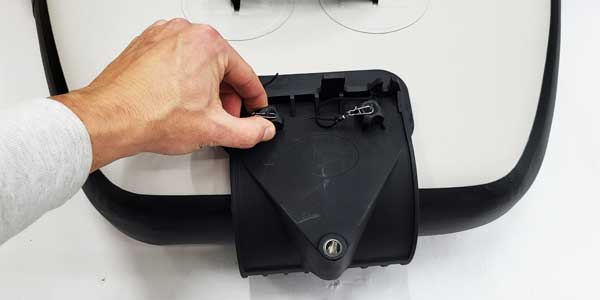
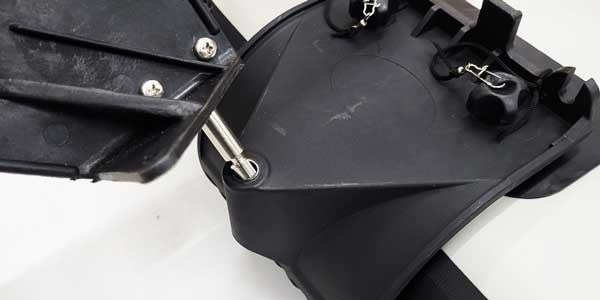
Fitting the rudder bracket
Turn the SUPJAK around and mount the holder for the rudder with the two Phillips screws on the underside of the SUPJAKS.

Insert screws
The two Phillips screws are screwed into these threads on the underside.
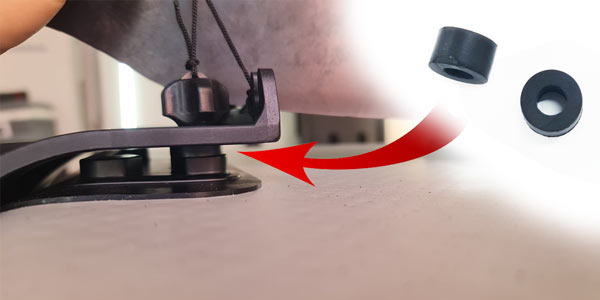
Insert rubber ring
Turn the SUPJAK around again and insert the rubber ring on the top between the holder and the attachment. Insert the screw through the rubber ring. The rubber rings are located in the orange box.
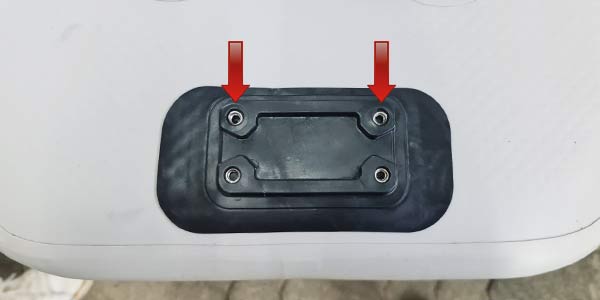
The right holes
The quick-release screws are screwed into these two threads on the top.
Inserting the quick-release screws
Tighten the two quick-release screws hand-tight. The rudder bracket must be mounted so that the opening for the rudder is at the top.
T-slot nuts
Insert the T-slot nuts from the seat into the rails.
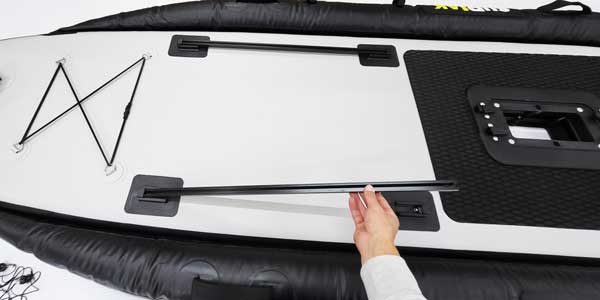
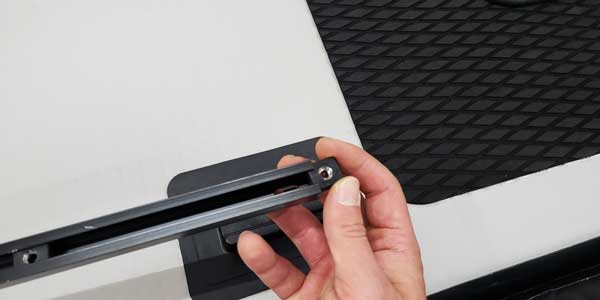
Insert rails
Insert the rails into the brackets on the SUPJAK.

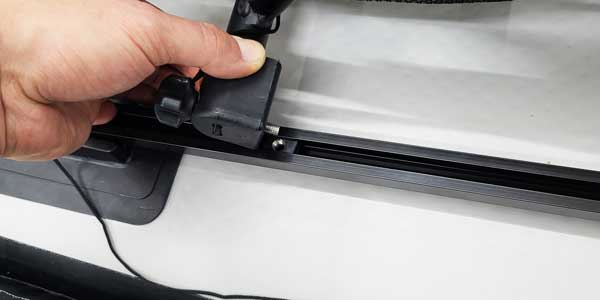
Fastening the rails
Securely mount the rails with the quick-release fittings.
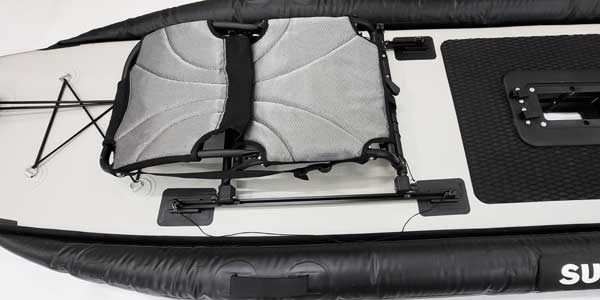
The seat
Place the seat on the rails.
Fastening the seat
Screw the seat to the rail with the quick-release fittings using the nuts previously inserted.
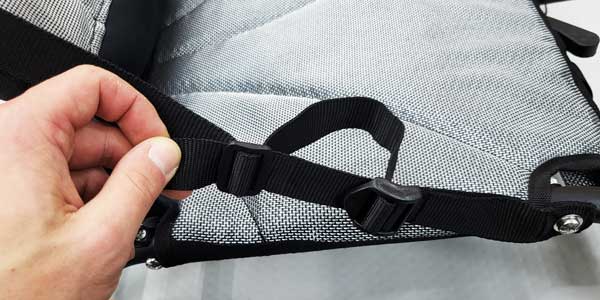
Adjusting the seat
Adjust the backrest of the seat to your own requirements.
The rudder
Insert the rudder into the rudder holder. (this only fits in a certain position.
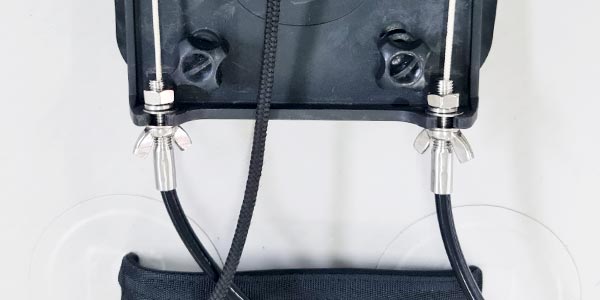
Fitting cable pulls
Fit the steering cables to the rudder bracket.
Adjusting the steering
Attach the rope to the rudder and tighten it evenly on both sides using the quick release. (This must be done when the steering lever is in the center position).
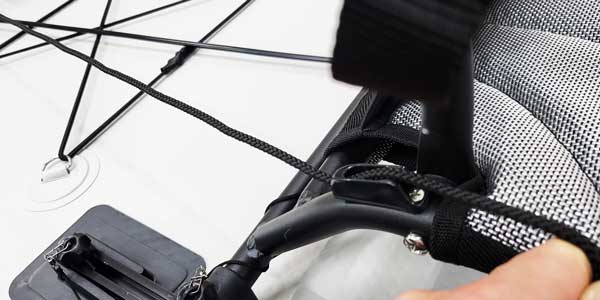
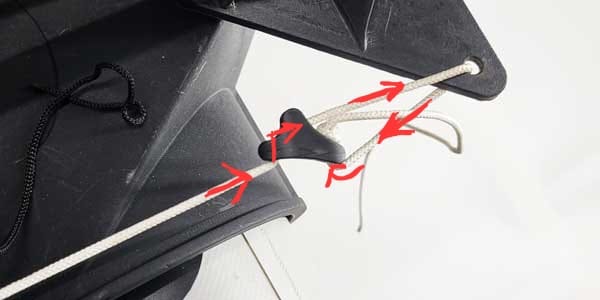
Folding in the rudder
Attach the rope for folding and unfolding the rudder to the seat.
Final inspection
Before putting the Supjak on the water for the first time, we recommend tightening all screws again. (Please also check the drive screws). Now please go to our instructions to assemble the steering. Assembly instructions for steering